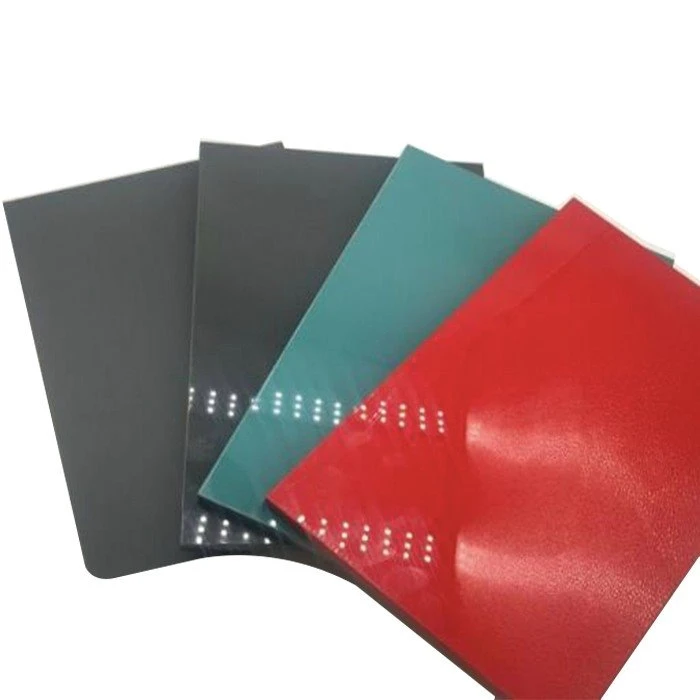
Hey there! As a supplier of High Glossy UV MDF, I'm super excited to share with you how to install this amazing material. High Glossy UV MDF, which you can learn more about here, has become a go-to choice for many DIY enthusiasts and professional installers alike because of its sleek look and durability.
Preparation Before Installation
First off, preparation is key. You need to make sure you've got all the tools and materials ready. For tools, you'll need a measuring tape, a saw (either a hand saw or a power saw depending on your comfort level), a drill, screws, a level, and a pencil. As for materials, obviously you'll need your High Glossy UV MDF sheets. You might also need some adhesive if you're planning to stick the panels to a surface instead of screwing them.
Before you start cutting or installing anything, measure the area where you'll be putting the High Glossy UV MDF. This is super important because you don't want to end up with panels that are too big or too small. Use your measuring tape to get accurate dimensions, and write them down. Double - check your measurements to avoid any costly mistakes.
Cutting the High Glossy UV MDF
Once you've got your measurements, it's time to cut the High Glossy UV MDF. If you're using a hand saw, make sure it's sharp. A dull saw can cause rough edges and make the cutting process a lot more difficult. If you're using a power saw, follow all the safety instructions. Wear safety goggles and gloves to protect yourself.
Mark the cutting lines on the High Glossy UV MDF using a pencil. Make sure the lines are straight. You can use a straightedge or a level to help you draw the lines. When you're cutting, go slow and steady. If you're using a power saw, let the saw do the work. Don't force it through the material, as this can cause the blade to bind or the material to crack.
Installation on Walls
If you're installing High Glossy UV MDF on walls, there are a couple of ways to do it. One way is to use screws. First, use your drill to make pilot holes in the MDF. This will prevent the wood from splitting when you insert the screws. Then, hold the panel up against the wall in the right position and use a level to make sure it's straight. Mark the locations of the studs on the wall through the pilot holes in the MDF.
Once you've marked the studs, drill holes in the wall at those locations. Insert wall anchors if necessary, especially if you're not screwing directly into a stud. Then, align the MDF panel with the holes in the wall and insert the screws. Tighten them just enough so that the panel is secure but not so tight that it warps the MDF.
Another option is to use adhesive. Apply the adhesive evenly on the back of the High Glossy UV MDF panel. Make sure to follow the manufacturer's instructions for the adhesive, including how much to use and how long it takes to dry. Press the panel firmly against the wall and hold it in place for a few minutes to let the adhesive start to bond. You can use some clamps to hold the panel in place if needed while the adhesive dries.
Installation on Floors
Installing High Glossy UV MDF on floors is a bit different. First, make sure the floor is clean, dry, and level. You can use a self - leveling compound if the floor has some uneven spots. Once the floor is prepped, you can lay the High Glossy UV MDF panels.
You can either glue the panels to the floor or use a floating floor installation method. If you're gluing, apply the floor adhesive to the subfloor in a thin, even layer. Place the MDF panel on the adhesive and press it down firmly. Use a roller to make sure there are no air bubbles between the panel and the floor.

For a floating floor installation, you'll need to use underlayment. Roll out the underlayment on the floor, making sure it covers the entire area. Then, start laying the High Glossy UV MDF panels edge - to - edge. You can use special connectors or tongue - and - groove joints to connect the panels. Make sure the joints are tight to prevent any gaps.
Finishing Touches
After you've installed all the High Glossy UV MDF panels, it's time for the finishing touches. Check for any gaps between the panels and fill them with wood filler. Sand the filler smooth once it's dry. You can also add trim around the edges of the installation to give it a more professional look.
If you want to protect the High Glossy UV MDF further, you can apply a clear coat. This will not only add a layer of protection but also enhance the high - gloss finish. Make sure to follow the instructions on the clear coat product for the best results.
Other Related Products
While we're on the topic of building materials, you might also be interested in SPC Click Vinyl Flooring, which is a great alternative for flooring. And if you're looking for something for your walls, Flexible PVC Wall Panels are another option. They come in a variety of styles and can really transform the look of a room.
Get in Touch
If you have any questions about our High Glossy UV MDF or are interested in purchasing it for your next project, don't hesitate to reach out. Whether you're a homeowner looking to renovate or a contractor working on a large - scale project, we've got the products and expertise to help you out.
References
- General woodworking and installation guides from well - known hardware stores.
- Manufacturer's instructions for High Glossy UV MDF, SPC Click Vinyl Flooring, and Flexible PVC Wall Panels.


